
First 100 Minutes Walkthrough: Glacier River to Scout Ship
Step-by-step Beyond These Stars walkthrough for your first 100 minutes: optimal research order, glacier river excavation, copper smelting, and Scout Ship launch.
What Is the Optimal Opening Sequence in Beyond These Stars?
The first 100 minutes of Beyond These Stars act as a carefully interlinked ecological puzzle. You start with a handful of Peeps, a Home Spaceship capable of basic fabrication, and a valley on Kewa’s back where the eastern Copper Ore vein is cut off by suffocating, oxygen-starved terrain and dormant, dry forests.
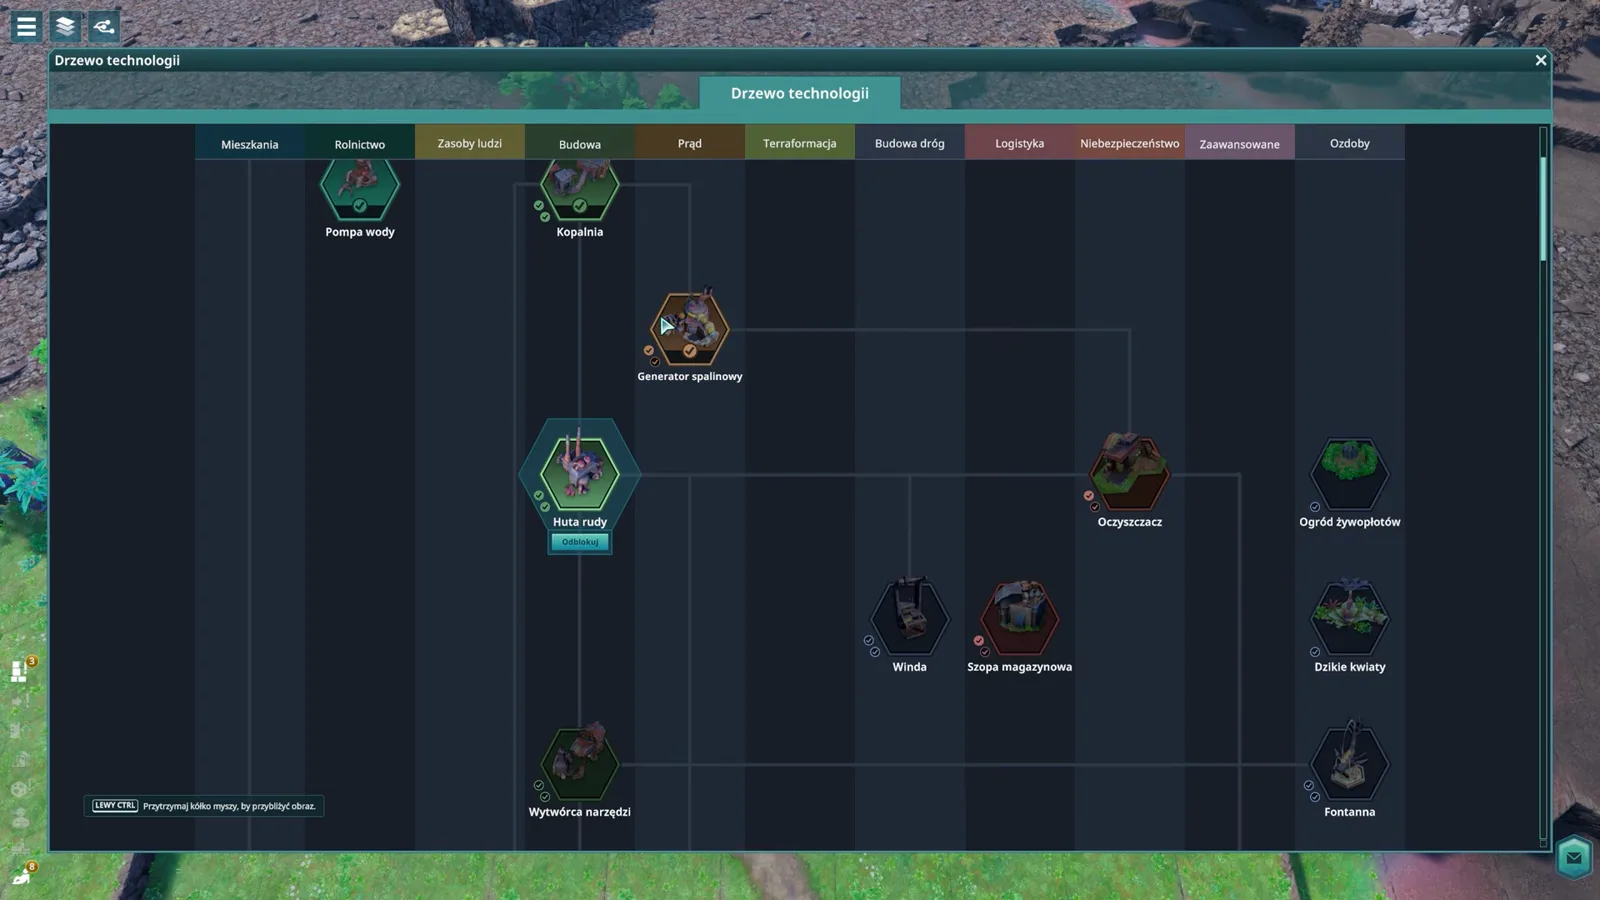
If you expand in the wrong order—such as burning through your starting Tools before setting up an Ore Smelter and Toolsmith, or failing to breach the glacier channel before your starting oxygen zone fills up—your colony will grind to a halt. This walkthrough divides the opening 100 minutes into four deterministic phases.
Phase 1 (Minutes 0–25): Landing Core & Adjacency Setup
Immediately pause the game upon landing and survey the hex grid around your Home Spaceship. Notice the green watered tiles near the central pond, the forested ridges, and the dry riverbed leading toward the eastern Copper Ore and Iron Ore deposits.
Exact Build Order for Minutes 0–25
| Step | Building | Cost | Placement & Adjacency Target |
|---|---|---|---|
| 1 | 3× Hut | 6 Wood each | Place on lush grass within 6 tiles of the Home Spaceship |
| 2 | 2× Potato Patch | 4 Wood each | Place directly touching your Huts for +20% Happiness |
| 3 | 1× Water Pump | 6 Wood | Place on a shoreline hex touching 3 water tiles (+30% Storage) |
| 4 | 1× Woodcutter | 4 Wood | Place inside a pocket surrounded by 5 Forest tiles (+30% Storage) |
| 5 | 1× Quarry | 6 Wood | Place adjacent to surface rock outcrops within 16 tiles of Huts |
| 6 | 1× Research Lab | 8 Wood, 6 Stone | Connect via dirt road near your Huts; assign 2 Peeps immediately |
Phase 2 (Minutes 25–50): Wire-Free Power & Tool Bootstrap
Around Minute 25, your starting stockpile of Tools will begin to dwindle. Without Tools, Peep efficiency plummets. To manufacture Tools on your own, you need Iron from an Ore Smelter and a Toolsmith—both of which require Power.
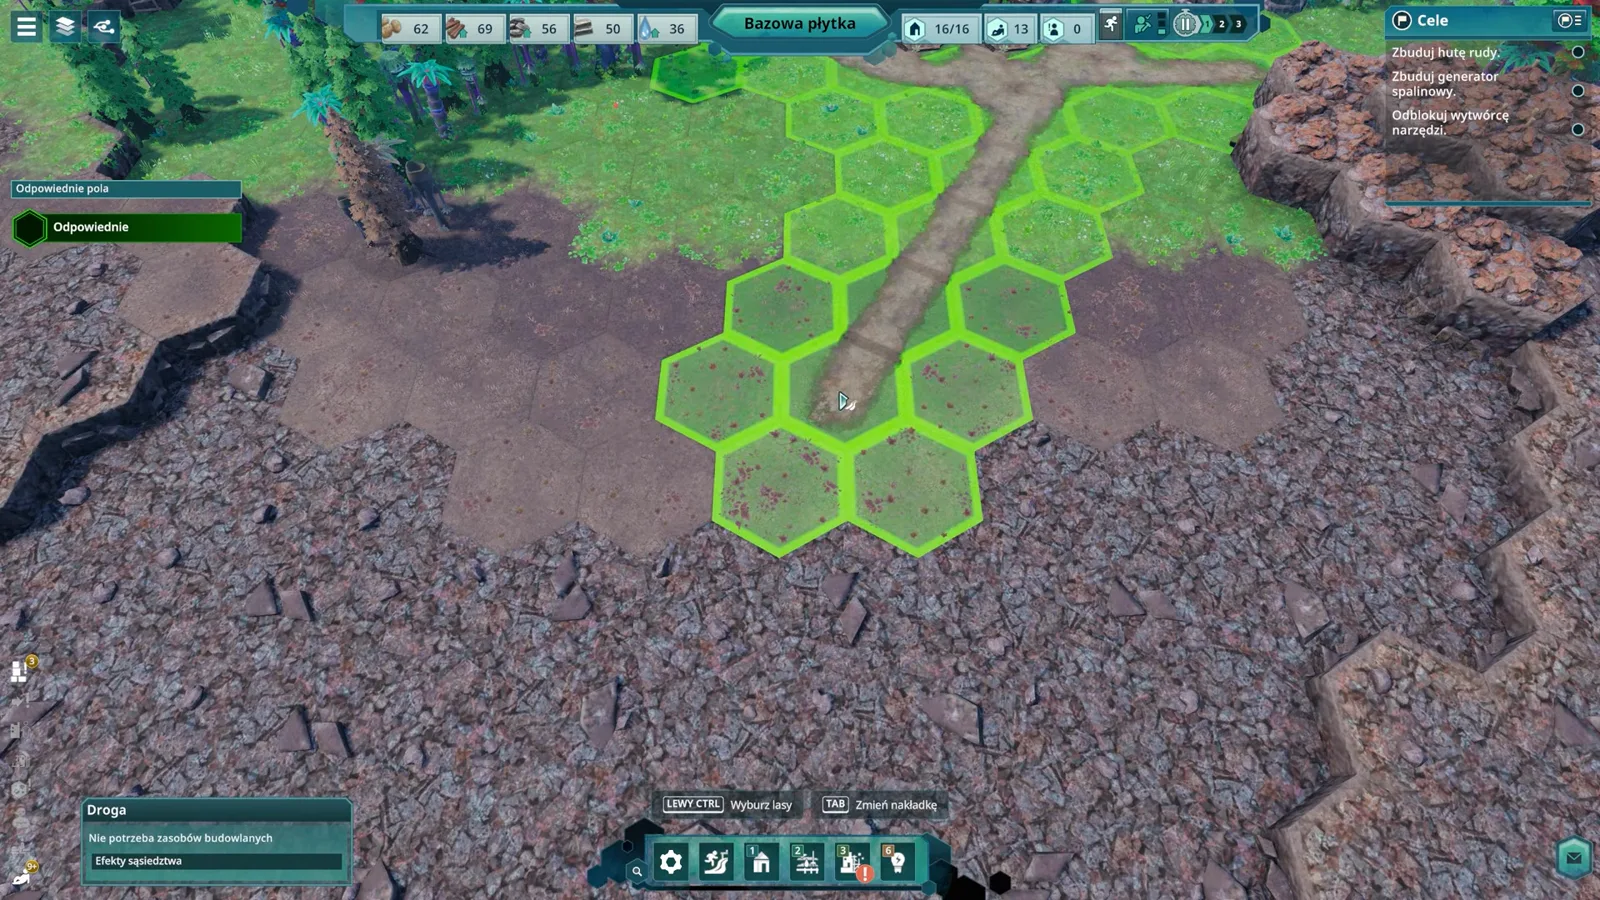
However, Power Lines cost 1 Copper + 1 Wood, and the Copper deposit is currently outside your breathable atmosphere! Here is how you solve the bootstrap paradox:
- Build an Iron Mine: Place a Mine (10 Wood, 8 Stone) on the nearby Iron Ore deposit inside your starting oxygen zone. Make sure a Hut is within 16 hex tiles!
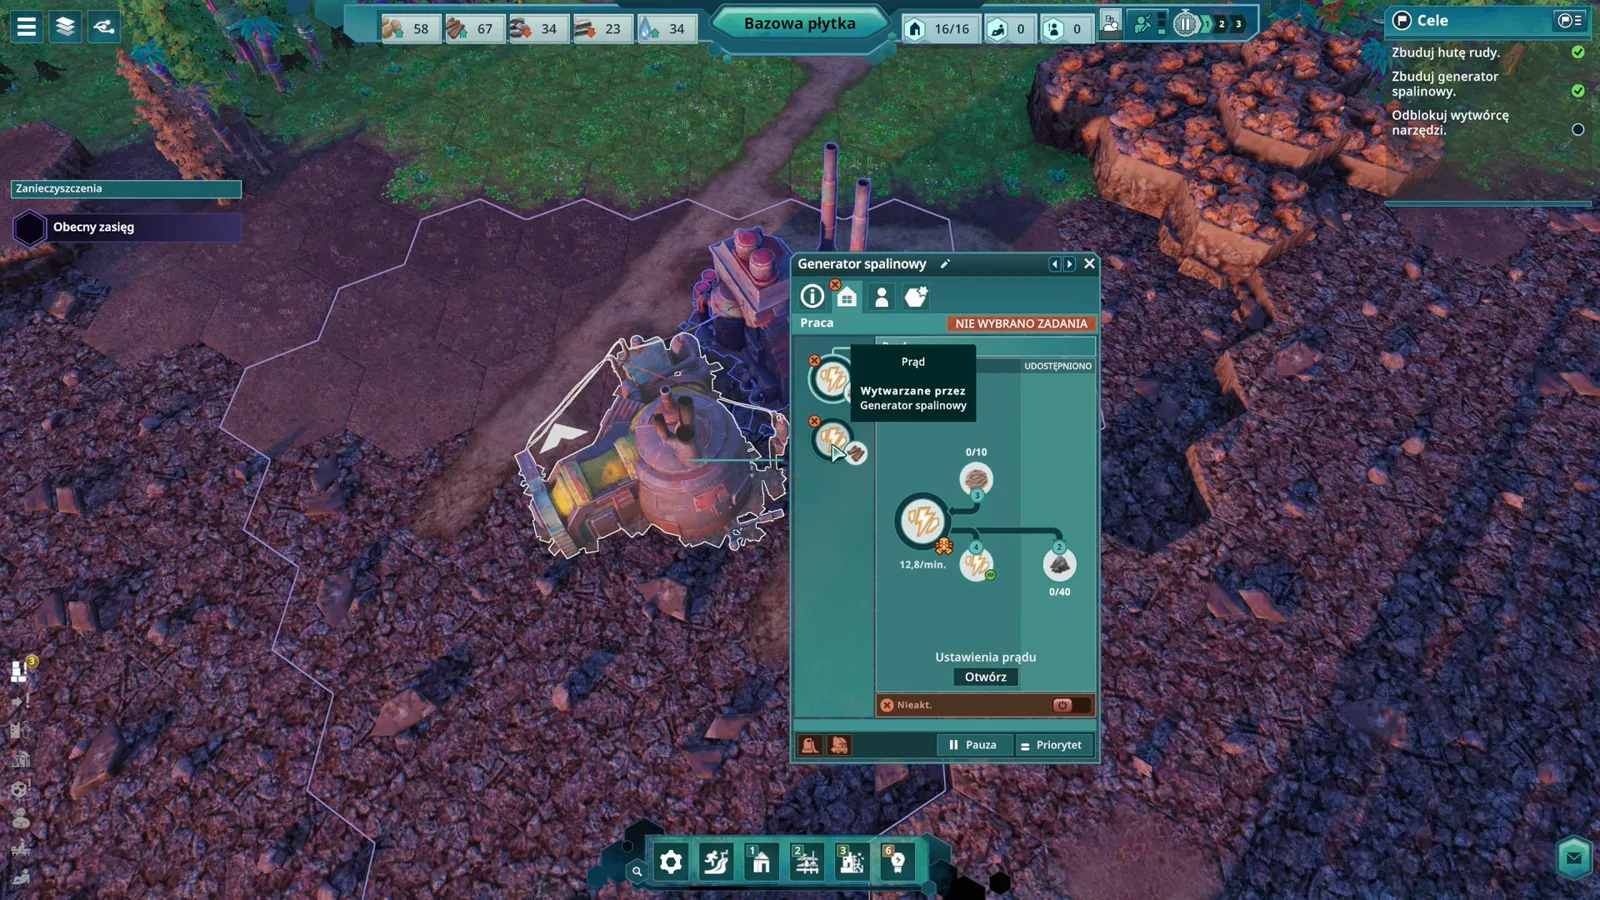
- Use the Touching Conduction Rule: Place a Burner Generator (10 Stone, 4 Iron) on the downwind edge of your settlement, leaving 4 adjacent hexes empty for its -25% pollution adjacency bonus.
- Touch Smelter & Toolsmith to the Generator: On the remaining 2 hexes touching the Burner Generator (or chained directly off each other), place your Ore Smelter (12 Stone) and Toolsmith (10 Wood, 10 Stone, 4 Iron). Because powered buildings conduct electricity directly through shared hex edges, both buildings power up with zero Copper and zero Power Lines!
For advanced grid layouts once you unlock Copper, consult our Power Grid & Conduction Guide and Building Adjacency Bonus Layouts.
Phase 3 (Minutes 50–75): Breaching the Glacier River & Reviving the Canopy
With Iron and Tools stabilized, you now need Copper to unlock Power Lines, Cleaners, and advanced electronics. Look toward the Copper deposit: you will see brownish Dry Forests sitting beside a dry riverbed blocked by elevated rock tiles near Kewa’s glacier.
How to Flood the Dry Riverbed
- Research & Place the Landscaper: Construct a Landscaper (12 Wood, 10 Stone, 4 Tools) within 16 tiles of a satellite Hut near the upper glacier blockage.
- Excavate the Channel: Select the Landscaper’s Lower Terrain / Dig Channel tool and target the rock hexes damming the glacier water.
- Watch the Biome Revive: As soon as the rock barrier is removed, turquoise glacier water rushes down the trench toward the Copper vein. Every hex within 4 tiles of the new river becomes watered, and the dormant Dry Forests along the bank burst into lush green canopy—projecting 4 tiles of breathable atmosphere right over the Copper deposit!
- Start Compost & Saplings: Build a Compost Heap (8 Wood, 6 Stone) to convert Wood Waste + Crop Waste into Compost, and a Tree Nursery (10 Wood, 8 Stone, 2 Tools) to grow Saplings for custom forest buffers.
Read our dedicated Terraforming Waterways, Compost & Saplings Guide to master fertility engineering across Kewa’s shell.
Phase 4 (Minutes 75–100): Pollution Control & Launching Jose’s Scout Ship
Once your Copper Mine is operating and your Ore Smelter is smelting both Iron and Copper, you can string Power Lines to separate your industrial zone from residential Huts.
Pre-Launch Stability Check (Before Minute 90)
- Contain Smelter Pollution: Place a Cleaner (10 Stone, 6 Copper, 4 Tools) near your Ore Smelter and Burner Generator so pollution never lingers for 15 minutes (see Pollution & Toxic Area Guide).
- Upgrade Diet Variety: Add a Fruit Plantation within 4 tiles of your newly watered Forest (+20% yield) so Peeps eat both Potatoes and Fruit, preventing strikes (see Peeps Happiness & Strikes).
- Check Kewa’s Vitals: Ensure no mines or polluted tiles are hurting Kewa’s carapace (see Kewa Care & Strange Transmitter Guide).
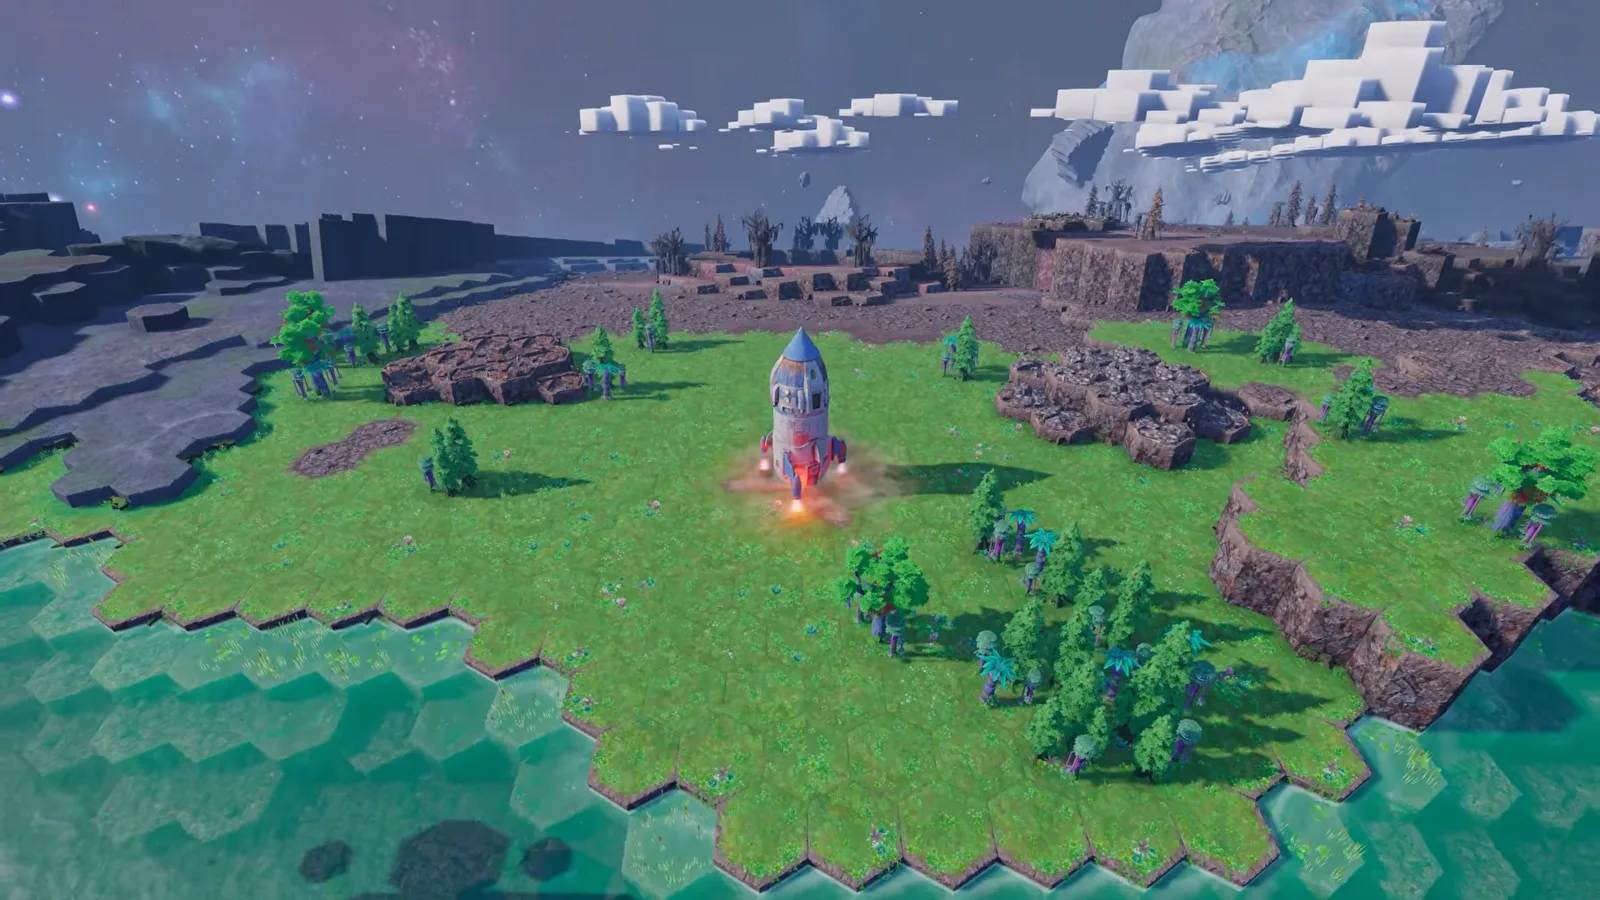
Finally, research and construct the Spaceport (30 Stone, 20 Iron, 15 Copper, 10 Tools) on a flat hex cluster. Once stocked, Jose’s Scout Spaceship blasts off into orbit, unlocking the Galaxy Map where you can scan asteroid belts, space stations, and planetary outposts. Continue your journey in our Galaxy Map, Scout Ship & Planetary Outposts Guide.

Beyond These Stars Official Gameplay Walkthrough Trailer
Frequently Asked Questions
How do I reach the Copper Ore deposit when there is no breathable air?
What should I research first in the Technology Tree?
Why did my Peeps stop building my new Quarry or Mine?
When should I build my first Compost Heap?
What is required to launch Jose's Scout Spaceship?
Related Sector Guides
buildings
Building Adjacency Bonus Layouts: Optimal Hex Grids & Buffs
Complete Beyond These Stars building adjacency bonus guide: exact hex placement rules for +30% Water Pump & Woodcutter storage, +20% Hut happiness, and more.
buildings
Power Grid & Generators Guide: Touching Rule, Wires & Batteries
Master electricity in Beyond These Stars: how the pre-wire touching conduction rule works, Burner vs Fuel vs Solar Generators, Power Lines, and Battery backups.
guides
Beyond These Stars Beginner's Guide: Settlement, Kewa & Survival
Complete Beyond These Stars beginner's guide covering the 16-tile Peep housing radius, Home Spaceship transition, glacier river terraforming, and Kewa care.
Did this telemetry guide help your settlement?
Transmission received — thank you!